English
 عربى
 BLDC
A solar frame looks like the simplest part of a PV module: four aluminium bars, four corners, a strip of sealant. In practice it is the component that decides whether a module survives twenty-five years of wind, snow, transport vibration and daily thermal cycling. It is also the part that determines how smoothly the module drops into a racking system on site.
We have spent years extruding, cutting and machining aluminium for solar mounting, and the questions we hear from installers and module assemblers are remarkably consistent. This guide walks through what a solar frame actually does, why aluminium remains the default material, which profile details matter, and how the frame fits together with the rails and clamps around it.
Content
- 1 What a Solar Frame Actually Does
- 2 Why Aluminium Still Sets the Standard
- 3 Inside a Solar Frame Profile
- 4 Surface Finish: Where Long-Term Performance Is Decided
- 5 Sizing, Tolerance and Fit
- 6 The Frame in the Wider Mounting System
- 7 Design Details That Decide Field Performance
- 8 From Extrusion to Finished Frame
- 9 Quick Answers to Common Questions
What a Solar Frame Actually Does
Frames are often described as packaging. That undersells them. On a standard glass-backsheet module the frame performs several jobs at once:
- It seals the laminate edge. The gasket groove and the silicone bead keep moisture away from the encapsulant and the cut edge of the backsheet, which is exactly where delamination tends to start.
- It provides stiffness. Glass is strong in bending but fragile at the edges, and a closed frame section ties all four sides together, limiting deflection under snow load.
- It creates the mounting interface. Clamps grip the frame flange rather than the glass, so flange geometry and wall thickness define the safe clamping zones.
- It carries transport loads. Stacked modules rest on their frames, so corner strength and profile straightness matter long before the module reaches a roof.
- It frames the module visually, which sounds trivial until a rooftop array is judged from the street.
Why Aluminium Still Sets the Standard
Three properties keep aluminium at the centre of solar frame design. First, it extrudes. A frame profile is a long, thin, hollow shape with a gasket groove, a drainage channel and a flange, and extrusion produces that shape in a single pass at a cost that steel fabrication or die casting cannot match. Second, it anodises. The oxide layer grows out of the metal itself, so a scratched surface does not expose bare material the way a painted finish does. Third, its strength-to-weight ratio suits installation crews working at height.
Aluminium also moves with the module instead of fighting it. Its thermal expansion is close enough to glass and encapsulant that the frame does not load the laminate edge as temperatures swing. If you want a longer explanation of the material argument, our note on why aluminium solar frames remain the practical choice covers it in more depth.
Inside a Solar Frame Profile
Most frame profiles look alike at a glance and behave very differently in the field. The parameters below are the ones we discuss with customers before a die is even cut.
| Profile detail | Common specification | What it changes |
|---|---|---|
| Alloy and temper | 6063-T5, sometimes 6005-T5 | Strength, finish quality, extrudability |
| Frame height | 30 to 35 mm standard; 40 to 50 mm for large modules | Stiffness and clamp depth |
| Wall thickness | 1.1 to 2.0 mm | Load capacity against weight and cost |
| Corner joint | Die-cast or aluminium corner key | Racking resistance and squareness |
| Anodising | 10 to 15 micrometres, sealed | Corrosion life and appearance |
| Cut length tolerance | Within 0.5 mm | Gasket compression and corner fit |
Notice how few of these are visible after assembly. A frame that is 0.3 mm out on cut length still looks perfect on a pallet, yet it will leak at the corner or crush the gasket on a hot line.
 High-Grade Aluminium Solar Panel FramesDurable, lightweight PV aluminium frames for roof, ground, and carport systems, available for wholesale and suited to climate-driven finish selection.View Product →
Surface Finish: Where Long-Term Performance Is Decided
Three finishes dominate the market, and the choice is usually driven by climate and by how the module will be cleaned.
- Mill finish leaves the extruded surface bare. It is the cheapest option and is sometimes accepted for short-lifetime or indoor applications, but it oxidises unevenly outdoors and shows handling marks quickly.
- Anodised finish is the workhorse. A sealed anodic layer of 10 to 15 micrometres gives predictable salt-spray performance, keeps the surface clean between wash cycles and does not chip. Thicker layers help in coastal installations.
- Powder coating allows colour matching for architectural or BIPV work, but the film is a separate layer, so edge coverage and adhesion control matter more than with anodising.
A practical rule we share with customers: specify the finish by exposure, not by price list. Coastal and agricultural sites, where ammonia and salt are present, justify a thicker anodic layer every time.
Sizing, Tolerance and Fit
Frame length is calculated from the laminate dimensions plus the gasket compression allowance, and that allowance is where most fit problems originate. Too little and the frame will not seat; too much and the corner gap opens under clamping pressure. We normally work from the laminate drawing rather than from a nominal module size, because glass tolerances alone can vary by a millimetre or more across suppliers.
Squareness deserves equal attention. A frame that is out of square by a few tenths of a millimetre still assembles, but it twists the module slightly, and that twist shows up as micro-cracks during transport or as uneven clamp contact on the roof. Checking diagonals on the first article of every batch costs a minute and saves a container of claims.
The Frame in the Wider Mounting System
A frame never works alone. It transfers load into rails, which transfer it into the roof or the ground, and the interfaces between those parts are where installation speed is won or lost.
Rails carry the bending moment, so their section and wall thickness are matched to the span between supports. A rail that is generous for a residential pitch may be marginal on a high-wind carport, and the frame flange depth has to suit the clamp that grips it.
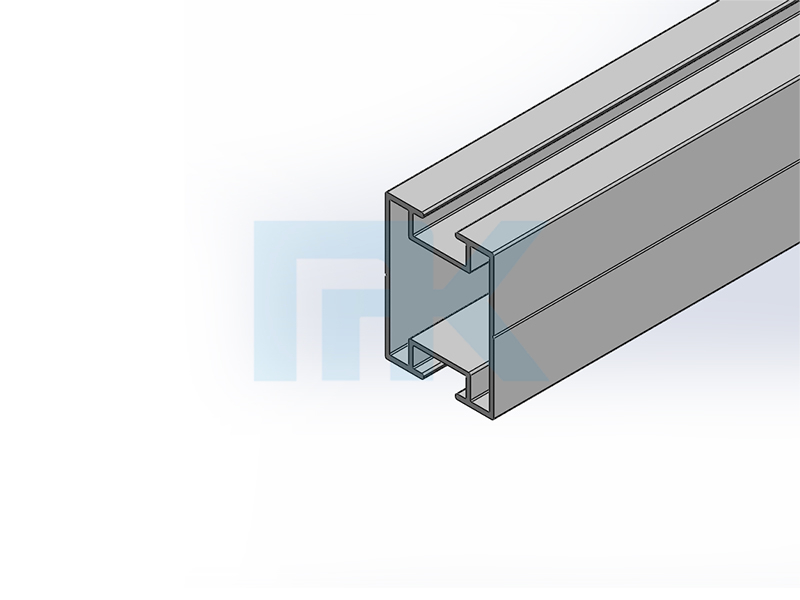 MK389 Solar Rails for Solar Racking SystemsWholesale aluminium solar rail model in MK Solar Racking Systems, matched to support spans and frame clamp compatibility in mounting layouts.View Product →
Clamps look like commodity parts until you compare contact area and material. A mid clamp with a narrow lip concentrates load on a small strip of the frame flange, which is fine on a stiff 35 mm frame and less fine on a thin-wall profile in a snow region.
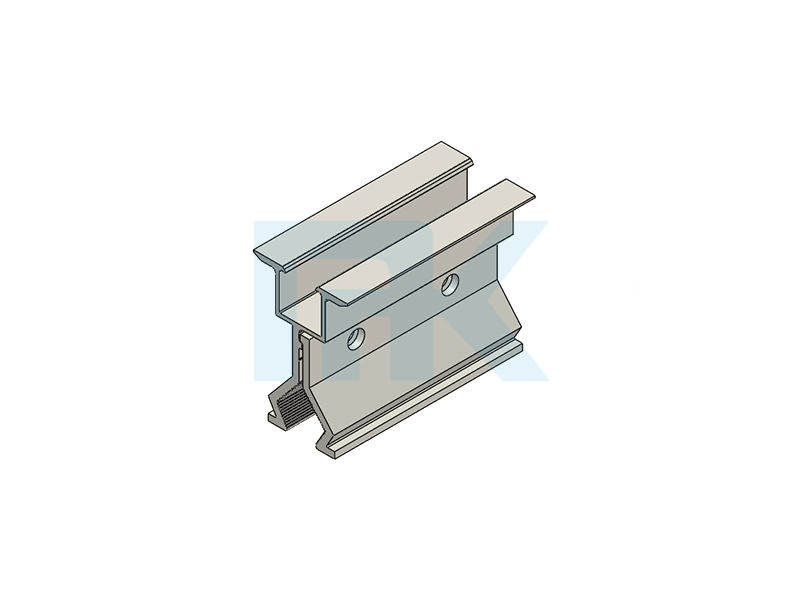 MK280/MK281 Solar Clamps for Racking AssembliesWholesale MK280/MK281 solar clamps for racking systems, suited to layouts where clamp contact area and material selection affect frame grip.View Product →
Nuts and bolts complete the chain. Solar nuts with a defined thread length and a controlled torque specification prevent the two most common site failures: loose clamps after a season of thermal cycling, and crushed frame walls from over-torquing.
Design Details That Decide Field Performance
Beyond dimensions, a handful of profile decisions separate a frame that ages quietly from one that generates service calls.
- Closed versus open cavities. Closed sections are stiffer per gram but trap water if drainage is forgotten; open sections drain freely and rely more on wall thickness for stiffness.
- Drainage paths. Small weep slots in the lower flange stop standing water in the gasket groove, which is the usual cause of long-term edge corrosion.
- Edge treatment. Tapered outer edges shed snow and reduce handling cuts; sharp internal corners concentrate stress, so radii are worth specifying.
- Gasket groove geometry. Groove depth and undercut decide whether the sealant stays put during lamination cure and transport.
- Earthing provision. A defined contact surface or pre-punched hole makes bonding repeatable instead of improvised on site.
From Extrusion to Finished Frame
Consistency in a finished solar frame depends on the steps after extrusion. Cutting, punching the earth hole, notching the drainage slot, tapping the corner fixing and measuring the finished length all introduce variation if they are done on separate machines with separate setups.
That is why our own workshop pairs extrusion with dedicated equipment: CNC cutting machines for length, tapping machines for thread quality, automated punching machines for repeatable hole position, and a length measuring unit that verifies finished frames against the drawing. Building the tooling around the profile rather than the other way round is the difference between a frame that assembles first time and one that needs persuasion.
Quick Answers to Common Questions
Is a frame always necessary?
For glass-backsheet and glass-glass modules, yes. Frameless laminates exist, mainly thin-film and some building-integrated products, but they depend on a fully bonded substructure and are far less tolerant of handling.
Which alloy should I specify?
6063-T5 covers the majority of module frames and balances strength, finish quality and extrusion cost. Higher-strength alloys make sense for very large formats or thin-wall designs, at the cost of tighter process control.
How thick should the anodising be?
Around 10 micrometres suits inland sites. For coastal, marine or agricultural exposure, 15 micrometres or more with a properly sealed layer is a better baseline than a promise about years of service.
A solar frame is a small extrusion with a large job. Get the alloy, the wall thickness, the cut tolerance and the finish right, and the rest of the installation tends to follow without drama. Get them wrong, and every later stage, from clamp torque to rooftop appearance, inherits the problem. If you are working through a frame or profile specification and want a second opinion on wall thickness, gasket allowance or finish selection, we are always happy to look at the drawing with you.